Flooded Well Cleaning: 6 Steps to Make Farm Water Safe
Floodwater got into your farm well? Follow six simple steps to pump out, scrub and chlorinate it with materials you already have.
Published
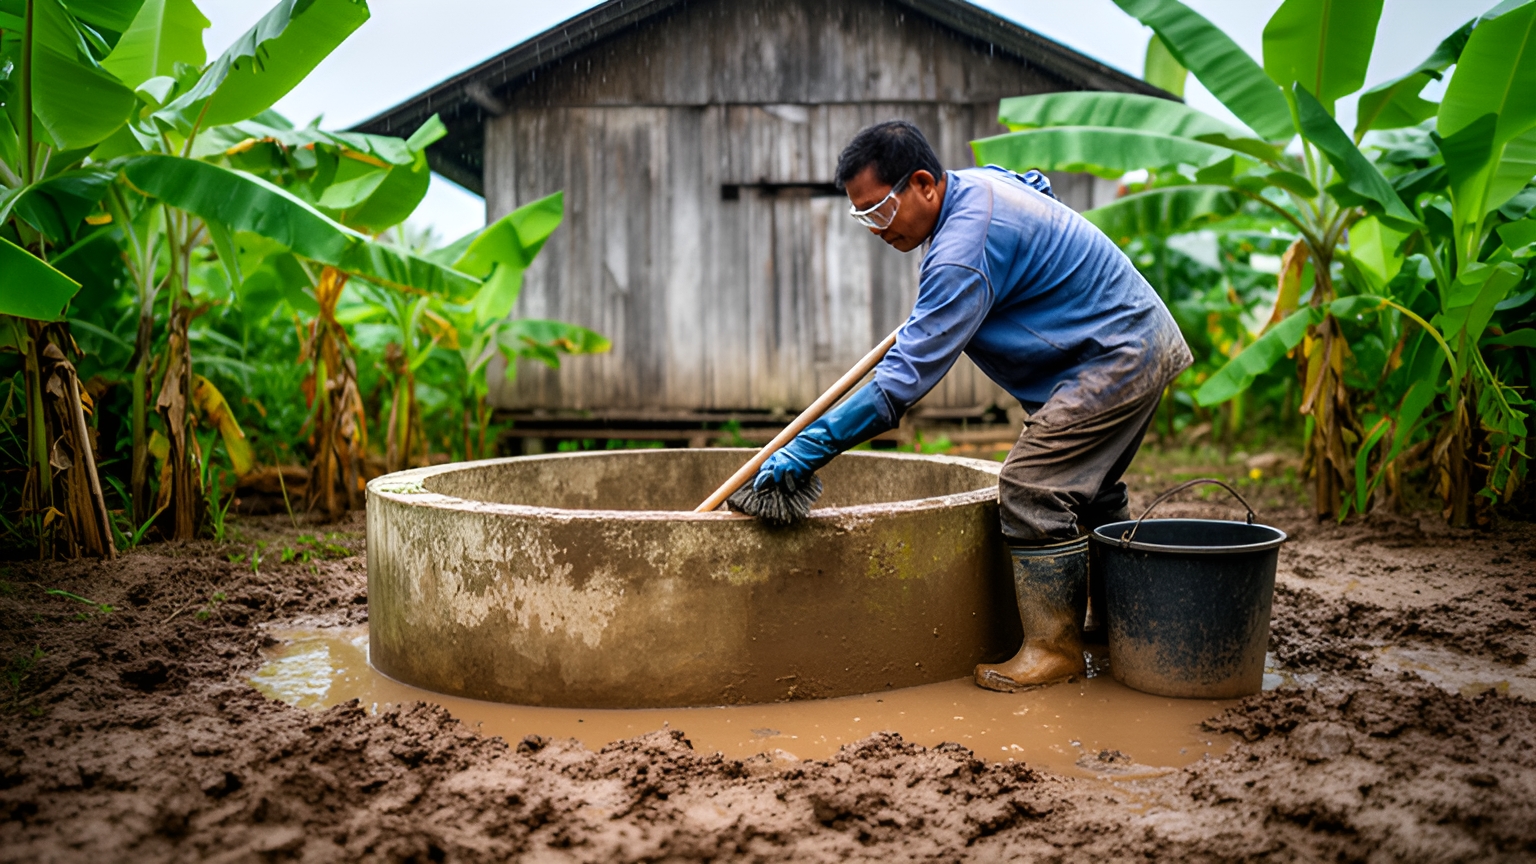
If floodwater has covered or entered your farm well, treat the water as unsafe until you have cleaned it. Floodwater carries mud, animal manure, latrine waste and farm chemicals. Flooded well cleaning is simple work that most families can do with a pump, a brush, household bleach and a few days of patience. This guide walks you through six steps, from checking the well to raising the well head so runoff stays out next time.
Conditions differ by country and place. Soil, well depth, water rules and health advice are not the same in Cambodia, Thailand, Vietnam, Laos, the Philippines, Malaysia or Indonesia. Use this as a general guide. Ask your local health office, extension officer or an experienced well builder before bigger work.
Signs floodwater has contaminated your well
Some signs are easy to see. Others are hidden. Assume the well is contaminated if any of these are true:
- Floodwater rose over the top of the well or ran into it through gaps in the cover or ring.
- The water is cloudy, brown or has floating bits.
- The water smells of mud, rot, fuel or sewage.
- The taste has changed, or people or animals got stomach upsets after drinking it.
- A latrine, animal pen or manure pile near the well was also flooded.
Clear water can still carry germs. If floodwater reached the well at all, clean it. Until then, boil drinking water at a rolling boil for at least one minute, or use bottled or rainwater from a clean, covered tank. Give animals clean water too.
Before you start: safety and materials
Wait until the floodwater around the well has gone down. If the area is still under water, it will flow back in and your work is wasted. Work in daylight, with a second person nearby.
Never climb down into a well. Wells can hold bad air with little oxygen, and people die every year from going down to clean them. Mud walls can also collapse after flooding. Do all the work from the top. If a hand-dug well has cracked walls, a sunken ring or soft ground around it, stop and call an experienced well builder.
If you have an electric pump that was under water, do not switch it on. Ask an electrician to check the pump and wiring first.
Protective gear:
- Rubber gloves, long enough to cover the wrists.
- Eye protection or safety glasses, because bleach splashes hurt eyes.
- Sturdy rubber boots with good grip, as the ground around wells is slippery.
- A simple mask if you work with bleach in a small or enclosed space.
Materials:
- A pump (petrol, electric or hand) or buckets and a rope.
- A long-handled stiff brush.
- Plain household bleach with no scent or added soap.
- Clean plastic buckets for mixing.
- Cement, sand and gravel if you plan to raise the well head.
Never mix bleach with other cleaners, vinegar, acids or ammonia. This makes dangerous gas. Use bleach alone with clean water.
Flooded well cleaning in six steps
Step 1: Check the well and clear the top
Look at the ring, cover and ground around the well. Remove floating rubbish, leaves, dead animals or debris with a net or bucket. Wear gloves. Clear mud and rubbish from the ground around the top so it does not fall back in. Note how high the flood came. You will need this mark in Step 6.
Step 2: Pump out the dirty water
Pump or bucket out as much water as you can. Place the pump outlet so the dirty water drains far away from the well, fish ponds, vegetable beds and houses. If you use a petrol pump, keep it outside and away from the well opening so exhaust fumes do not collect inside. Pump until the water is low, then let the well refill and pump again. Do this two or three times until the water looks clearer.
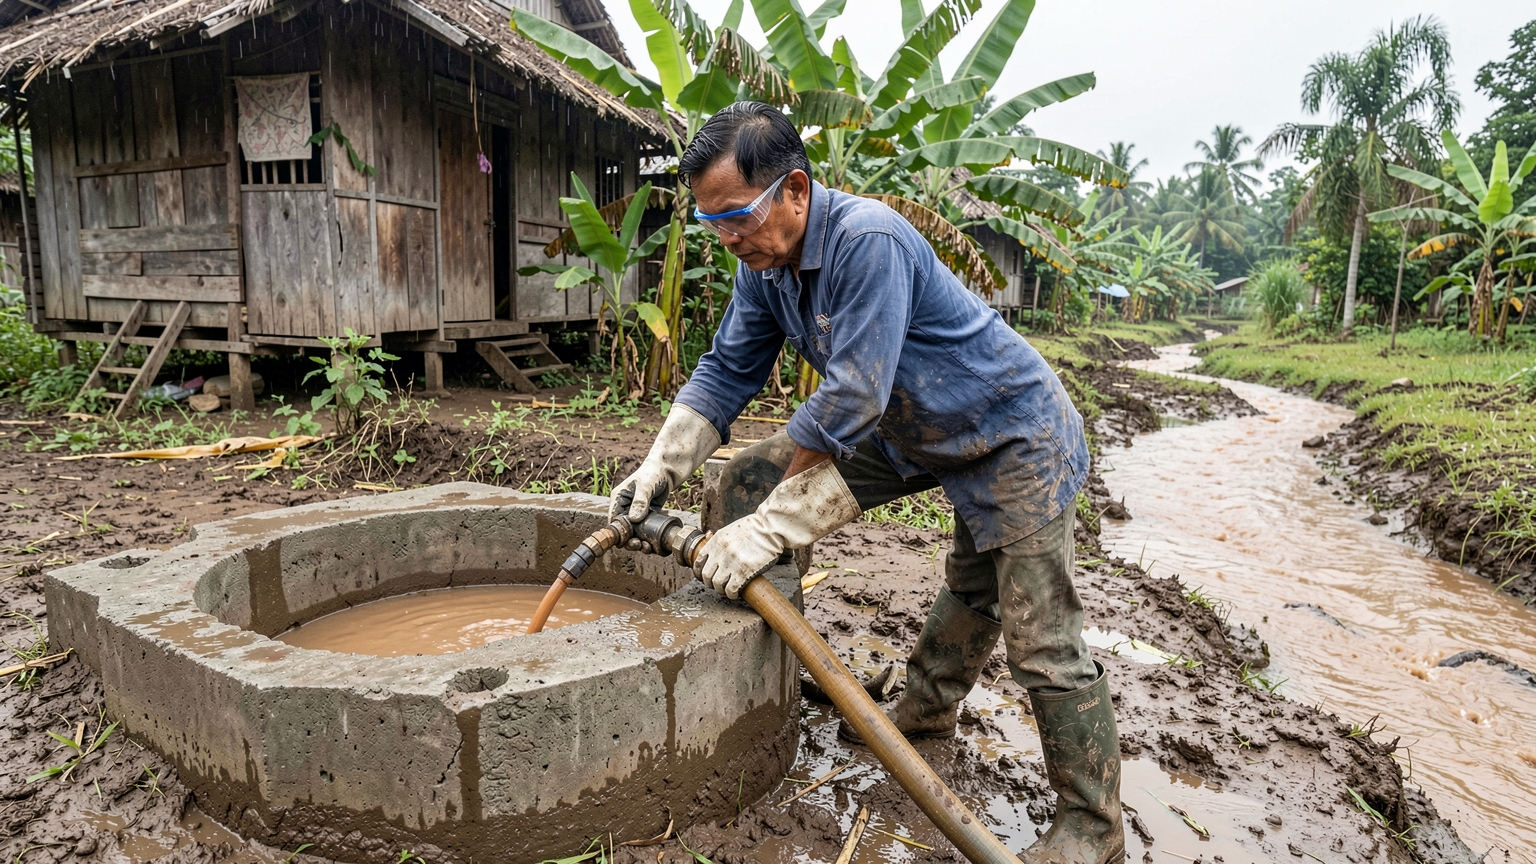
In deep or fast-filling wells you may not get the level very low. That is fine. The aim is to remove most of the dirty water and mud.
Step 3: Scrub the walls from above
Use a long-handled stiff brush to scrub the inside of the well ring or wall as far down as you can reach. Stand firmly on solid ground and keep your body outside the opening. Mud and slime hide germs, so scrub well. Then pump out the dirty water again. If thick mud sits at the bottom, a well builder can remove it with proper equipment.

Also clean the cover, the bucket, the rope and any pipes or taps that touch the water.
Step 4: Add chlorine
Let the well refill. Work out roughly how much water it holds. For a round well, multiply the radius (half the width) by itself, then by 3.14, then by the water depth. All measurements are in metres, and the answer is in cubic metres. One cubic metre is 1,000 litres. For example, a well 1 metre wide with 2 metres of water holds about 1,500 litres.
A common guide is about 1 litre of plain household bleach (around 5 percent strength) for every 1,000 litres of water. Bleach strength varies by brand and country, so check the bottle and follow your local health office if it gives a different dose. Mix the bleach into a bucket of clean water first. Pour it slowly into the well, keeping your face back from the opening. Wear gloves and eye protection.
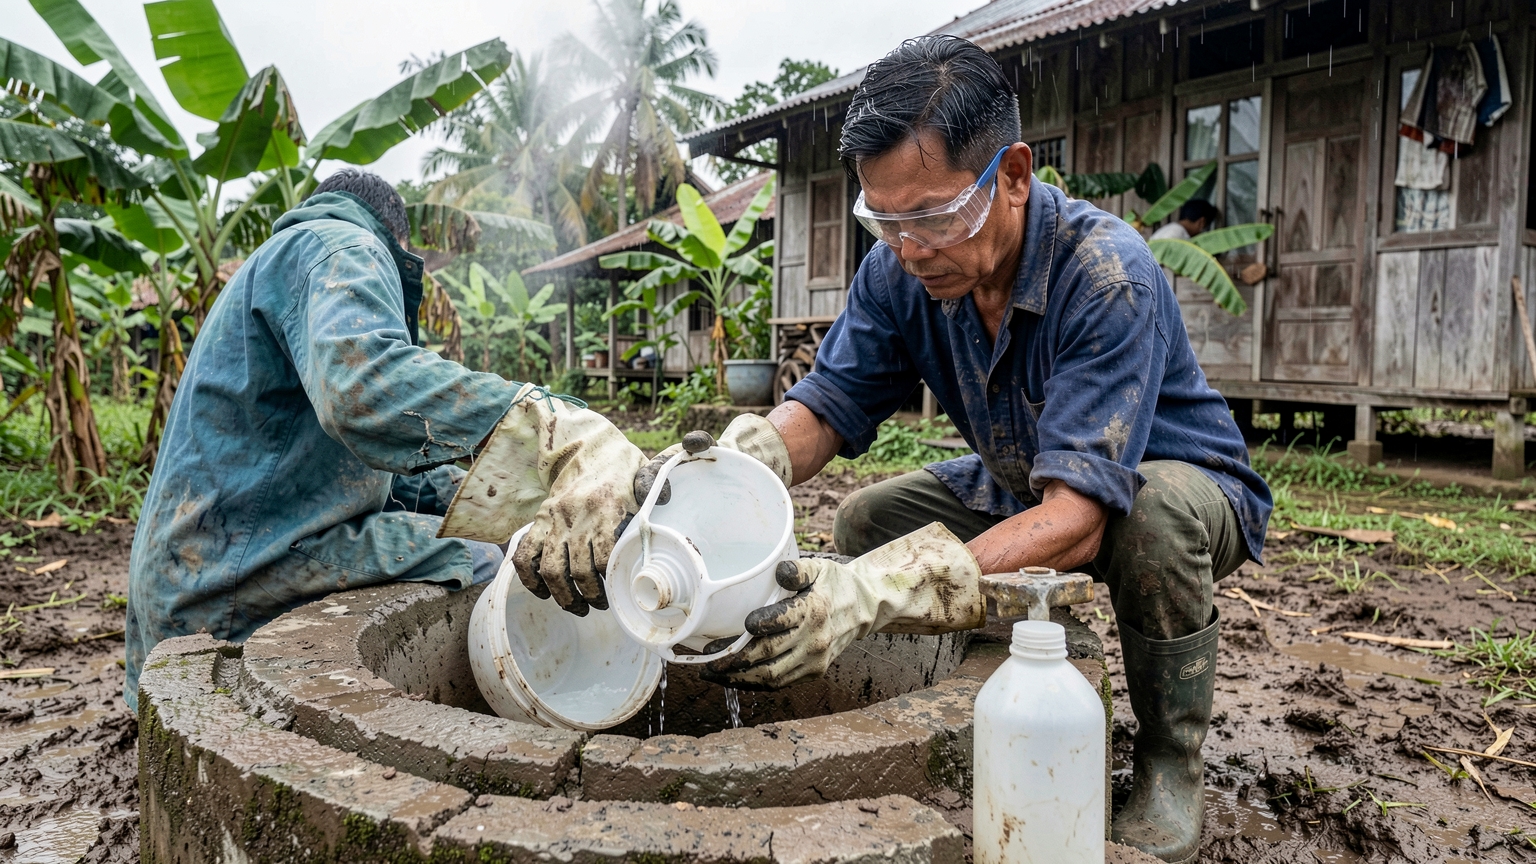
Splash the mixture onto the walls with a bucket, then stir the water with a clean pole or by lowering and lifting a bucket many times. Run water through pipes and taps until you smell bleach, then close them.
Step 5: Wait, flush and test
Cover the well and leave it for 12 to 24 hours. Do not use the water for drinking, cooking, animals or crops during this time. Then pump the water out until the bleach smell is gone or very faint. Drain it away from fish ponds, gardens and streams, because strong chlorine harms fish and plants.
If you can, ask your local health office or extension officer about a water test. Some areas offer free or low-cost tests, while private tests may cost roughly 10 to 50 US dollars, varying by country. If the water is still cloudy, smelly or the test shows germs, repeat Steps 2 to 5. Keep boiling drinking water until you are sure it is safe.
Step 6: Raise and seal the well head
The best way to protect a well is to stop floodwater getting in. Build the well ring higher, ideally at least 30 to 50 centimetres above the highest flood mark you noted. You can add one or more precast concrete rings, or build up the wall with blocks and mortar. Seal joints with cement mortar so runoff cannot seep through.
Around the top, pour a concrete apron about 1 metre wide that slopes gently away from the well. Dig a small drain at the edge to carry rainwater away. Fit a tight cover of concrete, metal or thick wood with an overlapping edge. Wear gloves, eye protection and boots when mixing cement, as wet cement burns skin.
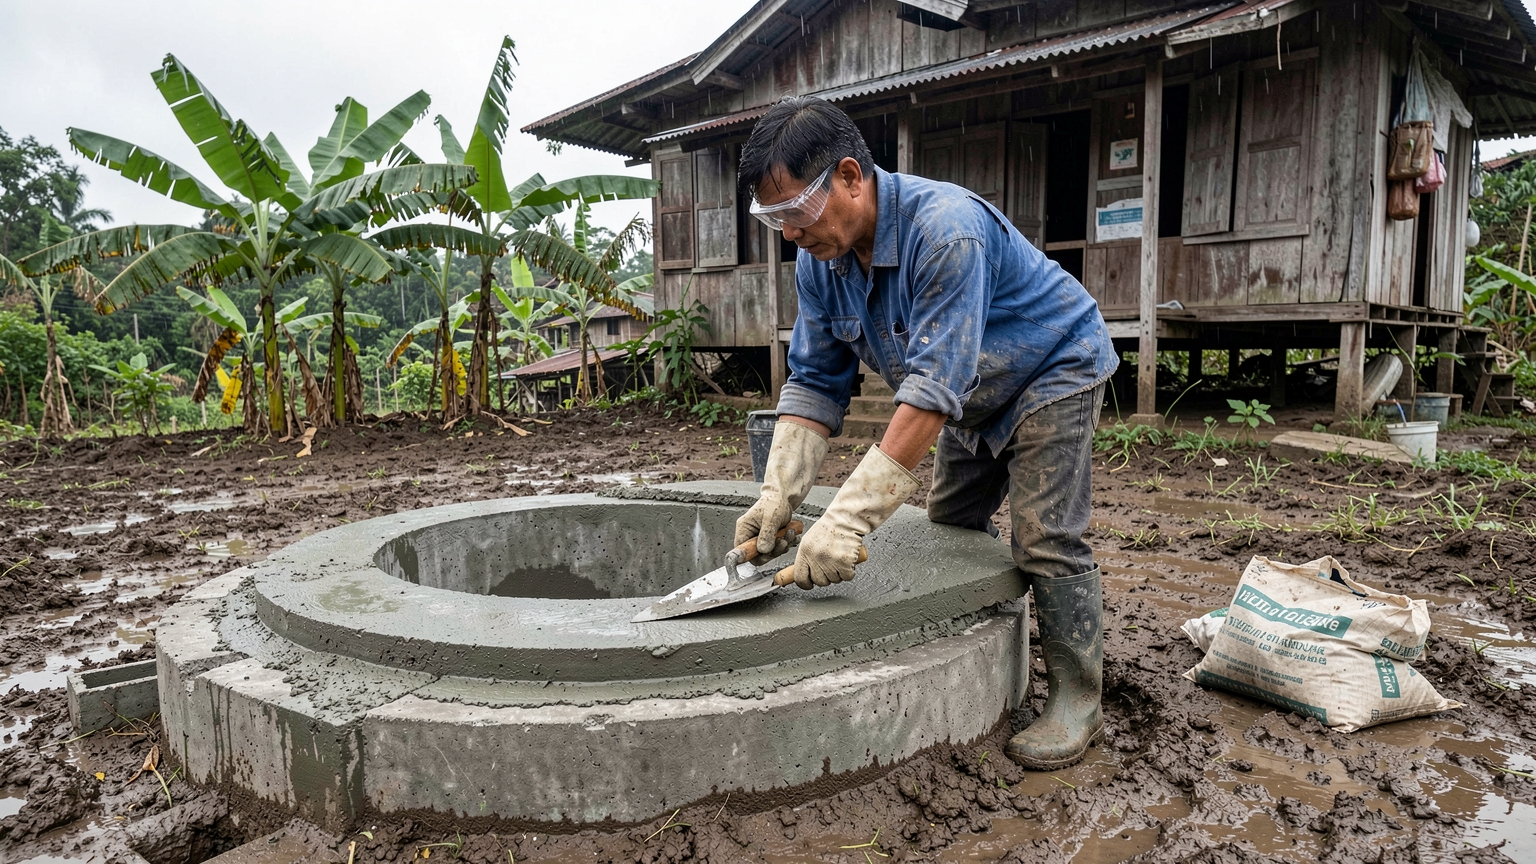
Costs vary a lot by country and materials. A concrete ring and a few bags of cement may cost roughly 20 to 100 US dollars. If the well is deep, the ground is soft or you need a new pump line, ask an experienced well builder. Check if your area has rules about well building or distance from latrines.
Keep the water safe in the weeks after
Rains can continue for weeks in many places, so keep watching the well.
- Check the cover and apron after every heavy storm.
- Keep animals, manure piles and chemical stores well away from the well. Many guides suggest at least 15 to 30 metres from latrines, but local advice may differ.
- Do not wash sprayers or mix farm chemicals near the well.
- Clear the drain around the apron so water does not pool.
- If floodwater enters again, repeat the cleaning steps.
- Watch for changes in smell, colour or taste, and boil drinking water if you are unsure.
A clean, raised and covered well protects your family, your animals and your crops. The work takes a few days, but it is one of the most useful jobs on a small farm during the rains.